Set-up & deployment
This guide will take you through the basic set up and deployment for FlowEHR in your environment.
1 Get the repositories
Repositories:
Model-Seedling - starting point for a new Data Science project
Dash-Seedling - used for creating Dash web apps
AzureTRE-Deployment - FlowEHR Azure TRE deployment, linking the AzureTRE with flowEHR and custom data sources
Azure-Bootstrap - Utility for bootstrapping common Azure resources needed to store Terraform state, containers and configure build agents, used in CI.
FlowEHR-Data-Pot - fork or clone this repo. Example data pipeline.
FlowEHR - this a template repo so you create your own repo from the template and customise it to your institution.
Powershell-Scripts - allows VM Customisations of windows VMs
Data source deployments - can use Satellite for synthetic EMAP star schema
2 Core configuration
Make sure VS code dev container extension is updated.
Dev subscription access: - On the azure portal you may not be able to access apps when you sign in via your NHS account. However, if you click on your username in the top right and go to switch directory then you can switch to your institution’s subscription e.g. UCLH DIF in the directories and subscription page.
CI/CD instructions
3 Infrastructure deployment
CI/CD instructions
4 Setting up App & Model Serving
Now we have our core infrastructure deployed, we can proceed to set up the app serving layer so it’s ready to deploy and host our FlowEHR Apps.
4.1 Configure a GitHub App
For FlowEHR to create and manage repositories in GitHub for hosting FlowEHR App code, it requires a GitHub App to authenticate.
We recommend creating a new GitHub Organization for containing all of the FlowEHR App repositories that will be created and managed by your FlowEHR instance - just so you’re not providing unnecessary management access to any other repositories you might have in your main org.
4.1.1 Create GH app
Once you have the organisation you wish to use at the ready, follow these instructions to create a new GitHub App within the organisation you wish to host your new FlowEHR apps, with the following properties (leave everything else blank/default):
Name: {YOUR_ORG}-FlowEHR # or something similar (needs to be globally unique)
Homepage URL: https://flowehr.io
Webhook: uncheck
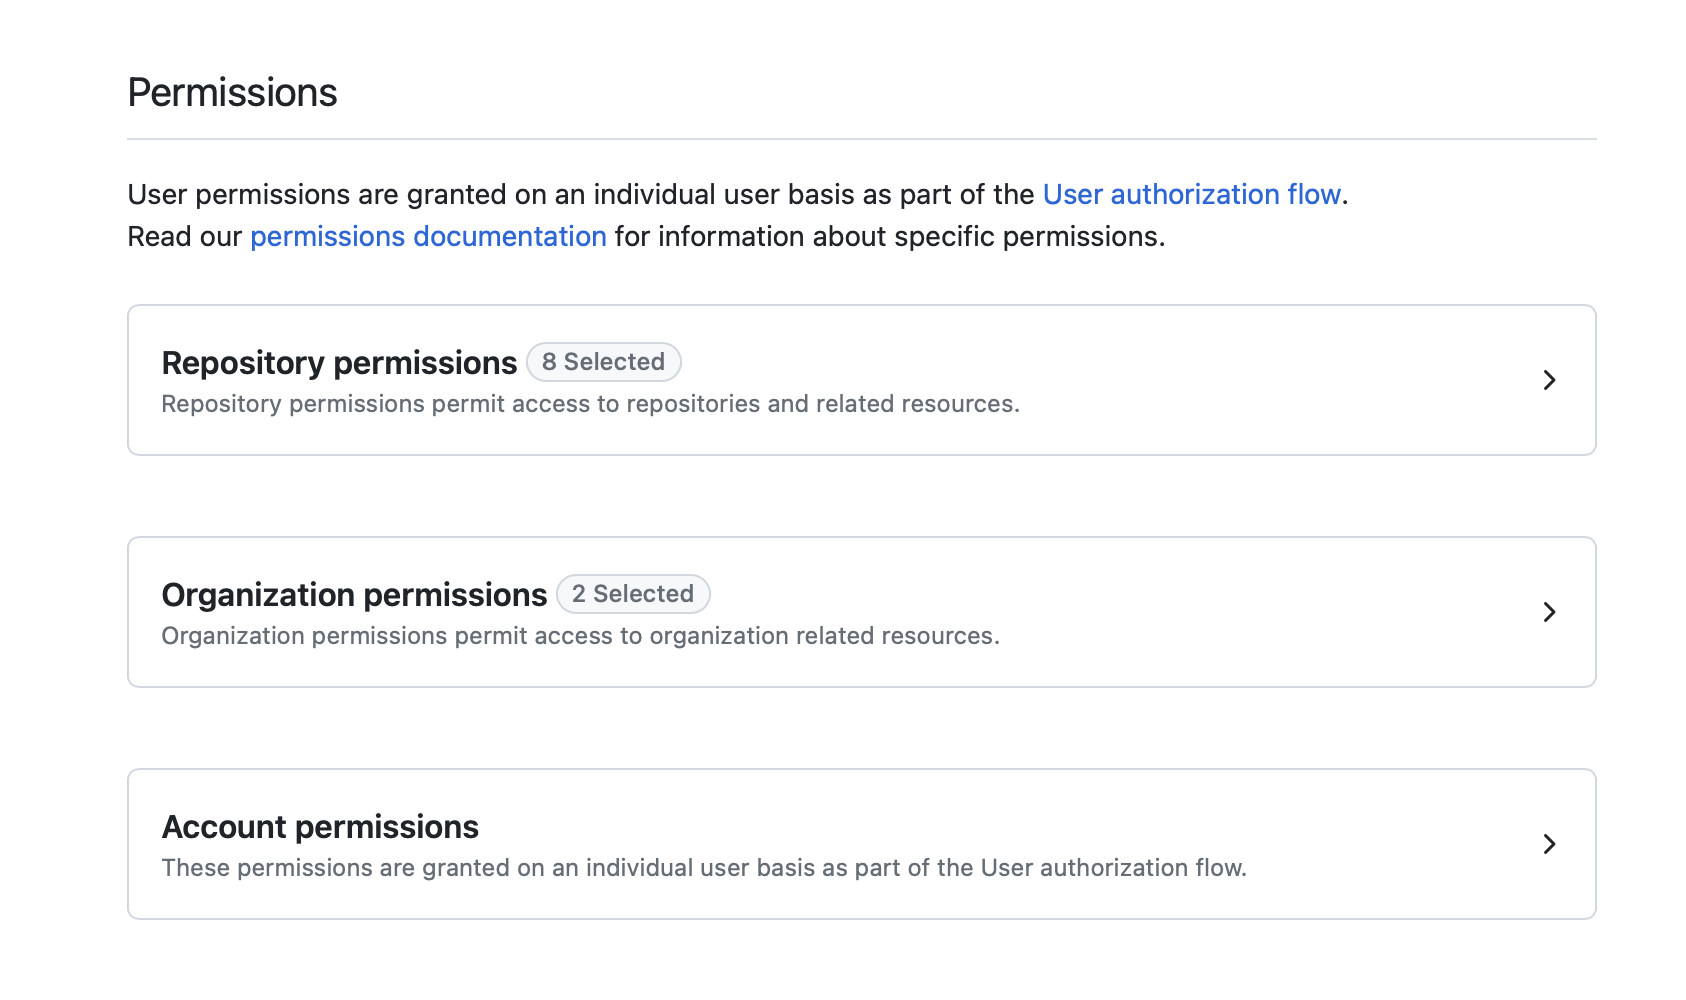
Permissions:
    Repository Permissions:
        - Actions: Read-only
        - Administration: Read and write
        - Contents: Read and write
        - Environments: Read and write
        - Metadata: Read-only
        - Secrets: Read and write
        - Variables: Read and write
        - Workflows: Read and write
    Organization Permissions:
        - Administration: Read and write
        - Members: Read and write
Where can this GitHub App be installed?: Only on this account
When happy, click Create GitHub App. After creation, in your app’s settings page, note down the App Id.
4.1.2 Generate Private Key
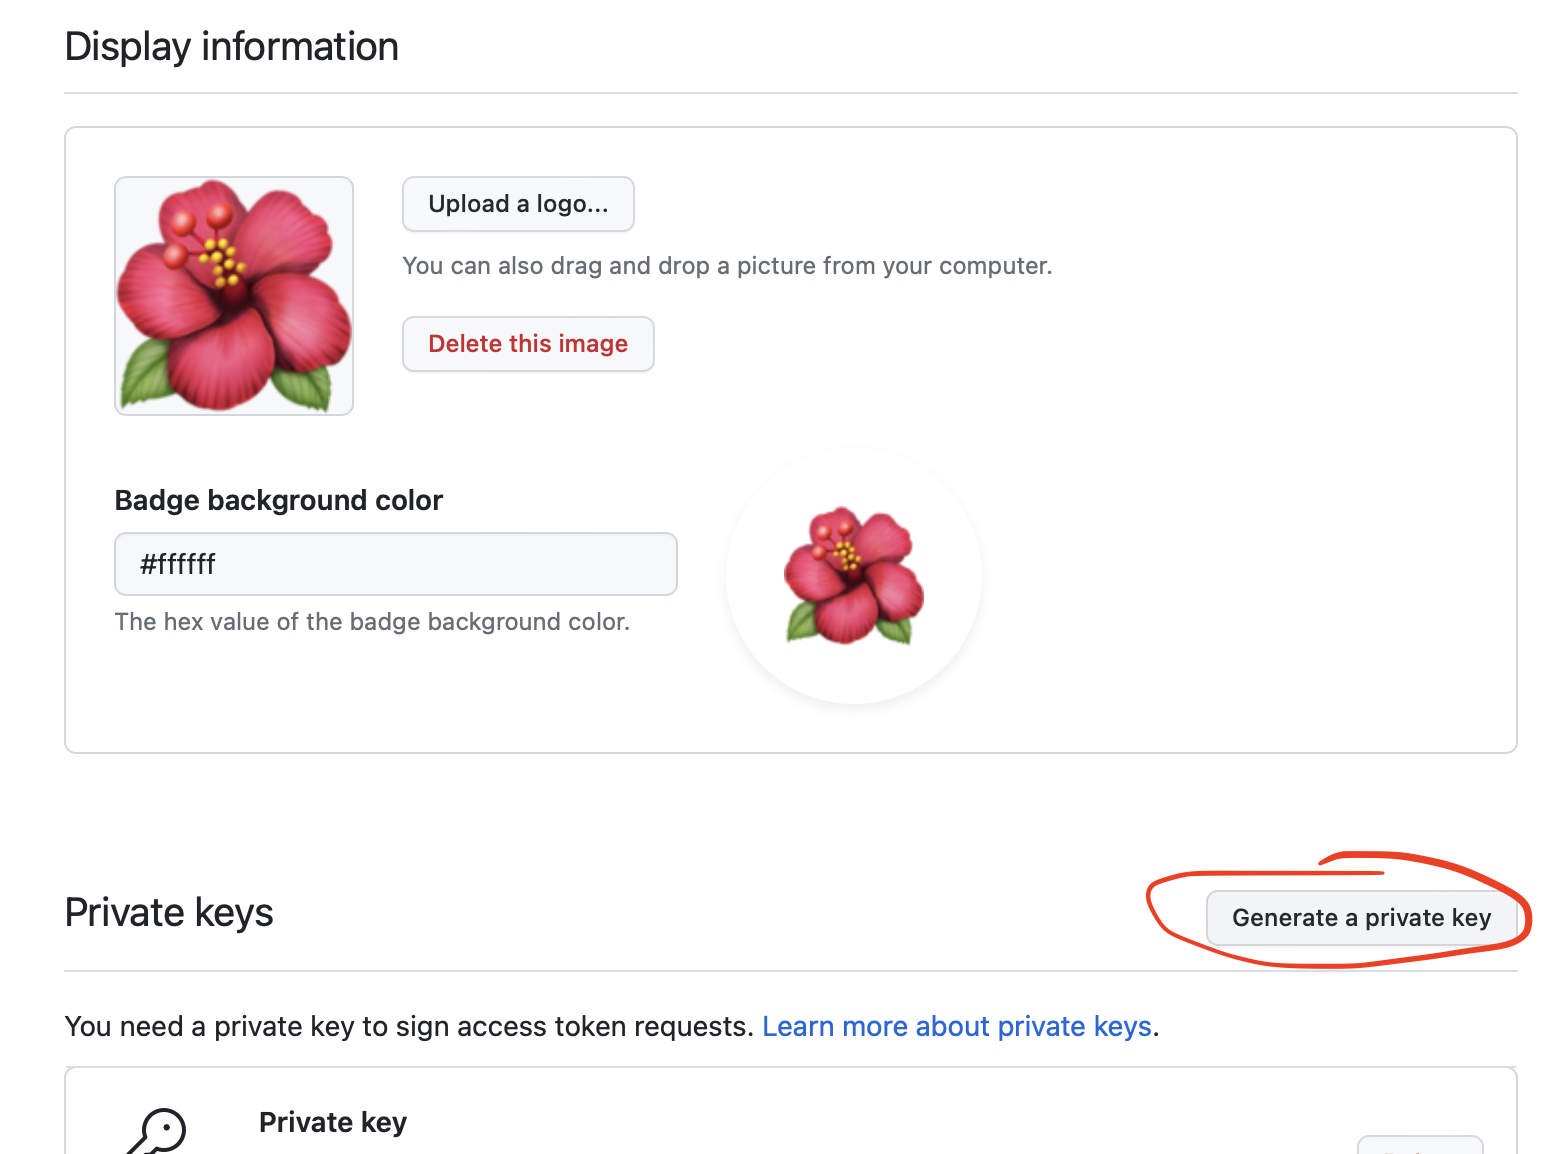
In the app settings page, scroll down to near the bottom and find the Private Keys section. Click Generate a private key. This will download a PEM cert file to your machine. We’ll need this later.

4.1.3 Install GH app
Once created, you need to the install the app to the organisation. Follow these instructions, selecting your organization and choosing All repositories.
After installation, stay on the same page and check the URL. It should look like this:
https://github.com/organizations/UCLH-FlowEHR-TestBed/settings/installations/35581991
At the end of the URL after installations/, you’ll see a number (35581991 in the example above). Record this down - it is your GitHub App Installation Id. (Believe it or not this is the easiest way to find it!)

4.1.4 Update config
Depending on whether you’re configuring this for a local dev deployment, or for CI (or both if you’d like local developers and your testing environments to share a single Organization for test apps) - update the relevant config.yaml or config.{ENVIRONMENT}.yaml with the GitHub app details in the serve block:
serve:
    github_owner: name of the GitHub Organisation you created/wish to use for deploying apps into
    github_app_id: your GitHub App's "App Id" from earlier
    github_app_installation_id: your GitHub App's "Installation Id" from earlier
4.1.5 Store the cert
For developing locally, simply find the PEM file you downloaded earlier, rename it to github.pem and drag it into this repo under the /apps directory. It will be picked up by Terraform during deployment, and is gitignored so won’t be checked in accidentally.
For other developers who want to use this same app instead of setting up their own, direct them to create and download their own private key from the GitHub App’s settings page as you did in a previous step.
For use in CI, copy the contents of the PEM file, and paste it into a new GitHub secret called GH_APP_CERT. The CI/CD pipeline will read this into a file to use during deployments.
That’s it for now! We’ll need all this when we come to deploying apps (which we’ll cover in the deployment section).